Lab – Creating your own VPC
Creating VPC
AWS services> Networking and Content Delivery >Your VPC’s – Create VPC to create new VPC
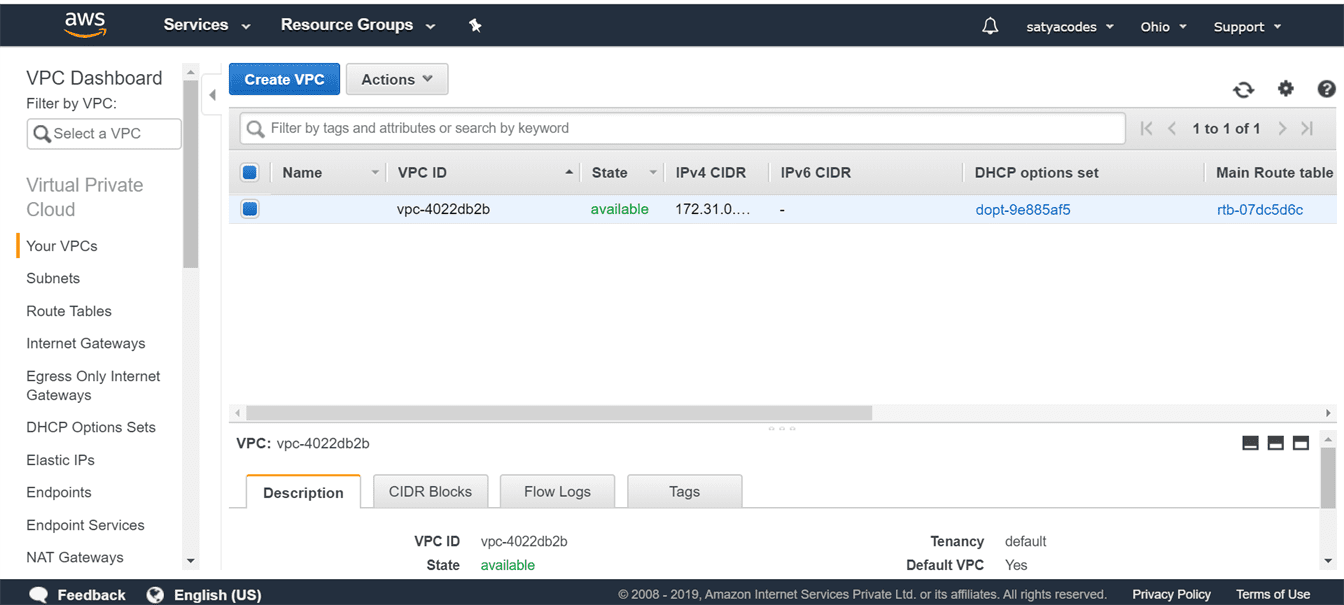
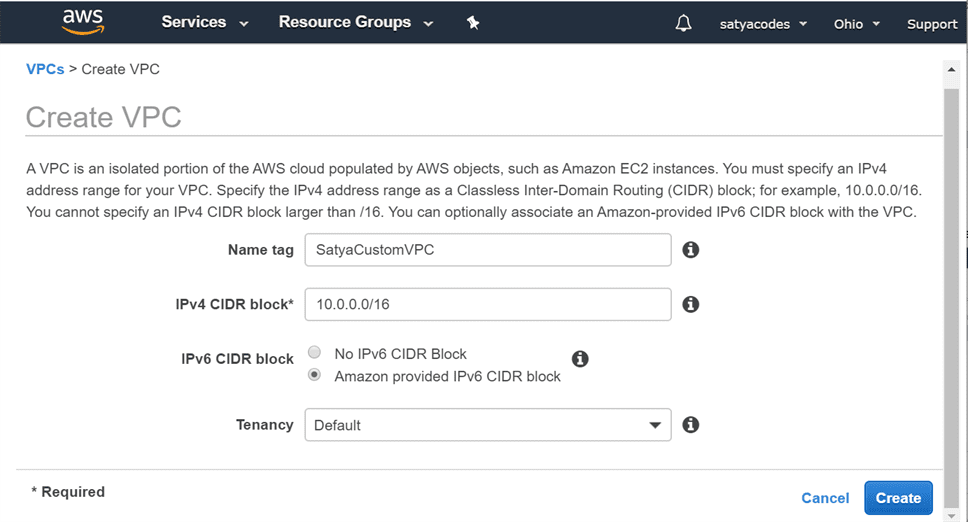


For VPC we have IPv4, IPv6, DHCP, Route Table, ACL network details. Lets compare all the properties of two VPS’s (default, SatyaVPC)
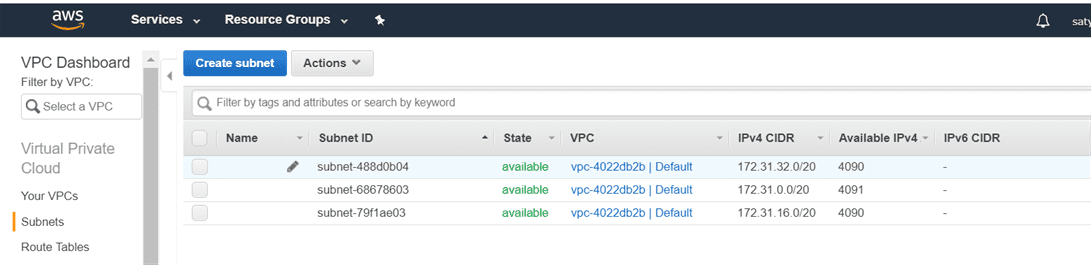
Subnets – Default , SatyaVPC
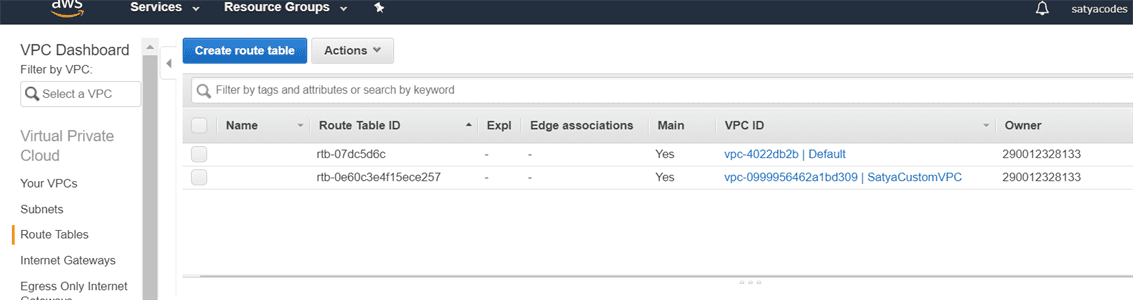
Routing Tables – Default , SatyaVPC
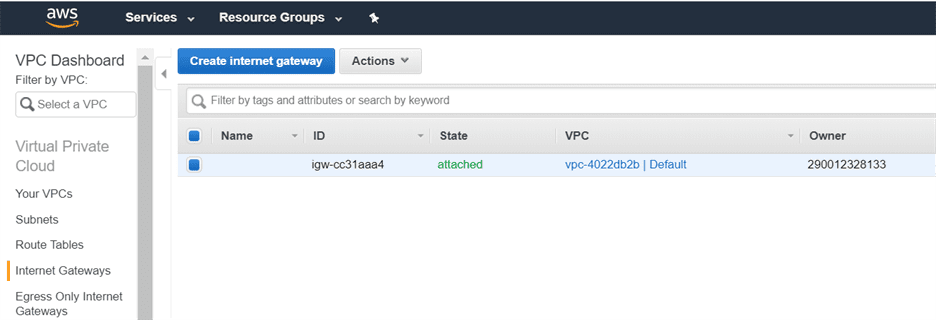
Internet gateway – Default , SatyaVPC
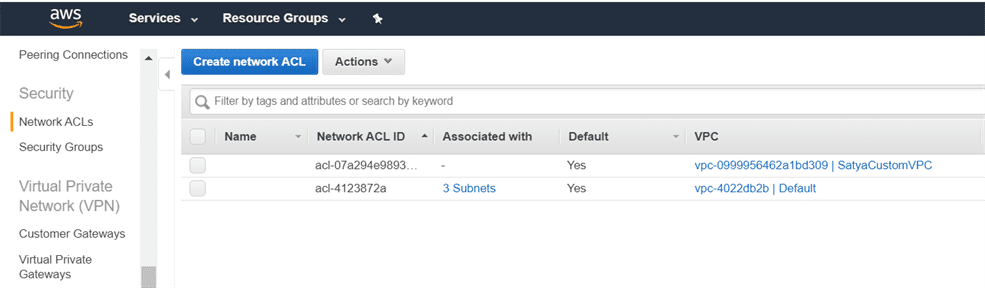
Network ACL – Default , SatyaVPC
Security Groups – Default , SatyaVPC
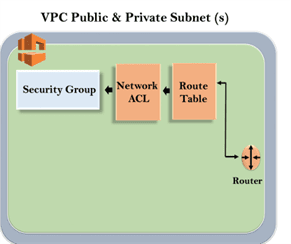
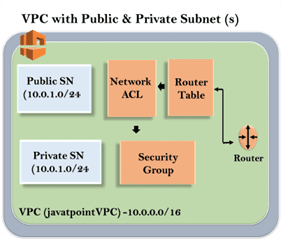
Till now, we observe that VPC creates three services, i.e., Route tables, Network ACL and Security Groups. It is shown in the below figure:
Create Subnets
in VPC, we should have one public subnet and one private subnet.
Create Subnets
AWS Services > VPC > Subnets
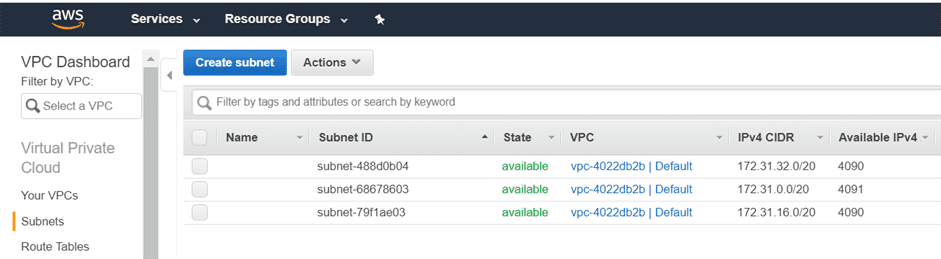
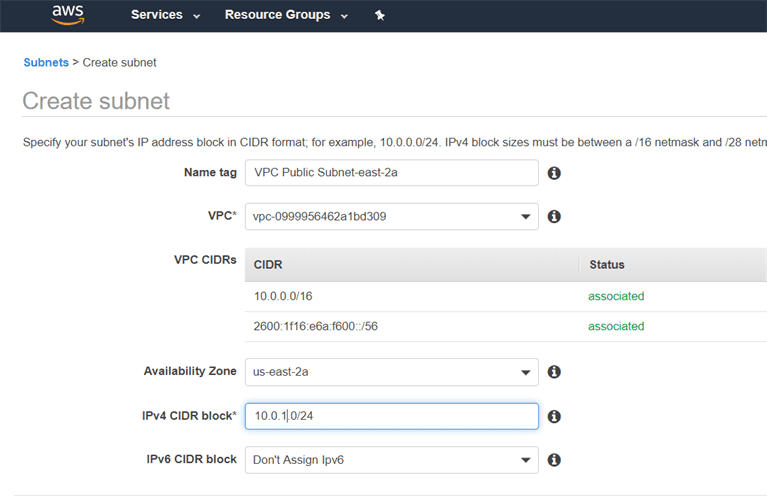
Create Public Subnet - VPC Public Subnet-east-2a
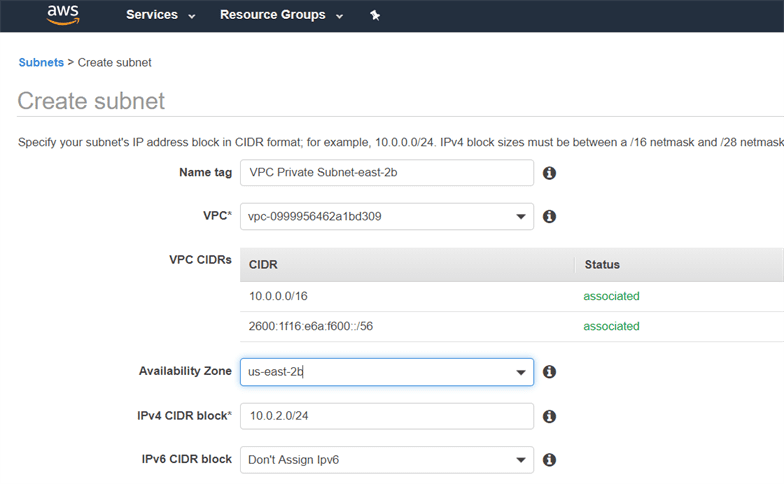
Create Private Subnet - VPC Private Subnet-east-2b
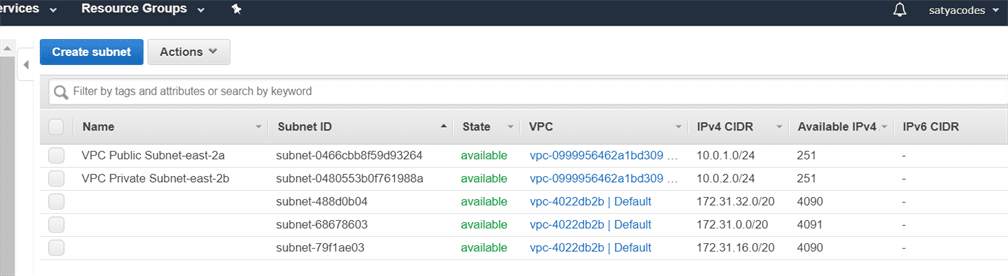
We have created two subnets – but both are in private.
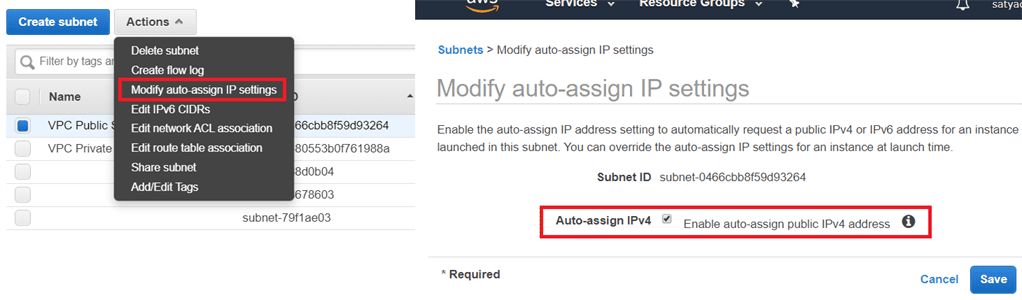
To make a subnet public, click on the Actions drop down menu and then click on the Modify auto assign IP settings > Check the Auto Assign IPv4 box, and then save
Till now, our VPC looks:
create Internet gateway
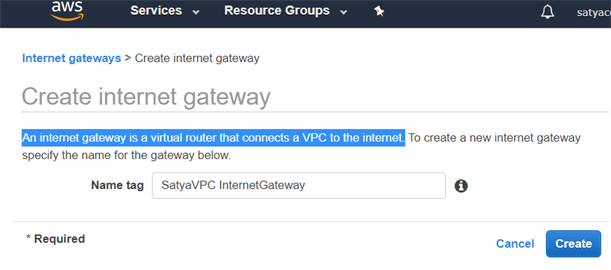
An internet gateway is a virtual router that connects a VPC to the internet.
AWS Services > VPC > Internet Gateway > Create Internet Gateway
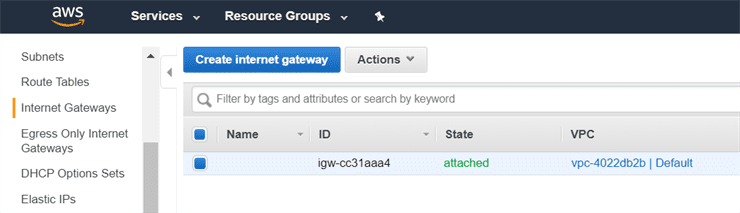
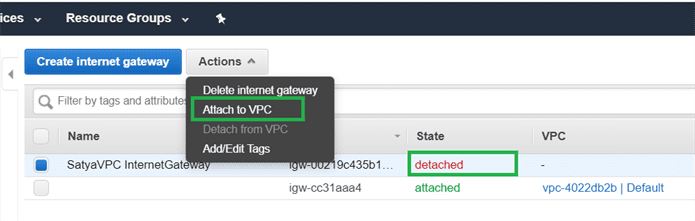
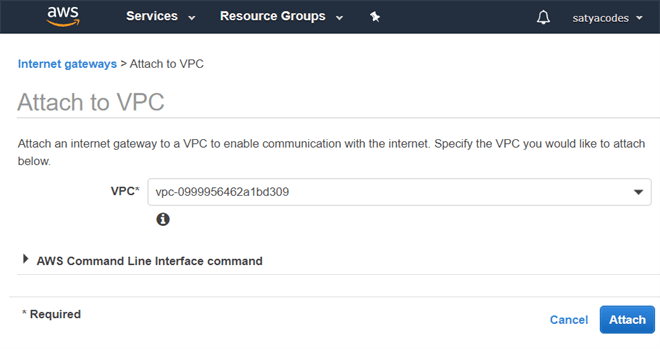
By Default internet gateway is detached from the VPC. To attach the internet gateway to VPC, Click on the Actions drop-down menu and then click on the Attach to VPC
Route Table
A route table specifies how packets are forwarded between the subnets within your VPC, the internet, and your VPN connection
Go to Route Tables , Select VPC created Routing Table > Subnets associations
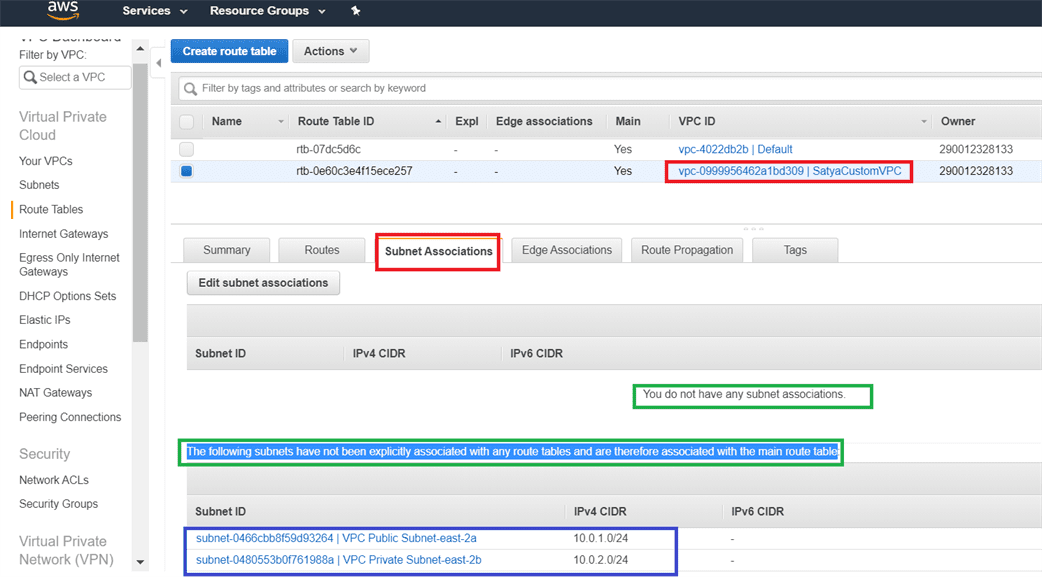
-You do not have any subnet associations. The following subnets have not been explicitly associated with any route tables and are therefore associated with the main route table” – message
To overcome this problem, we create another route table which would be public, and the main table would be private.
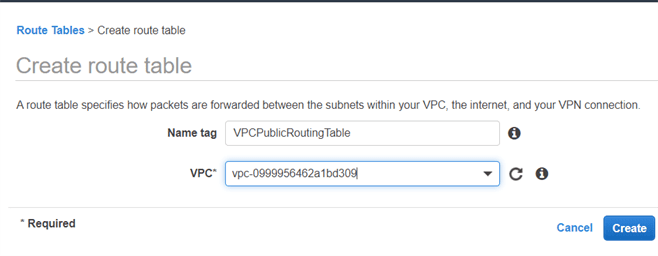
Route Tables > Create route table
Seleet new table > Routes > Edit routes
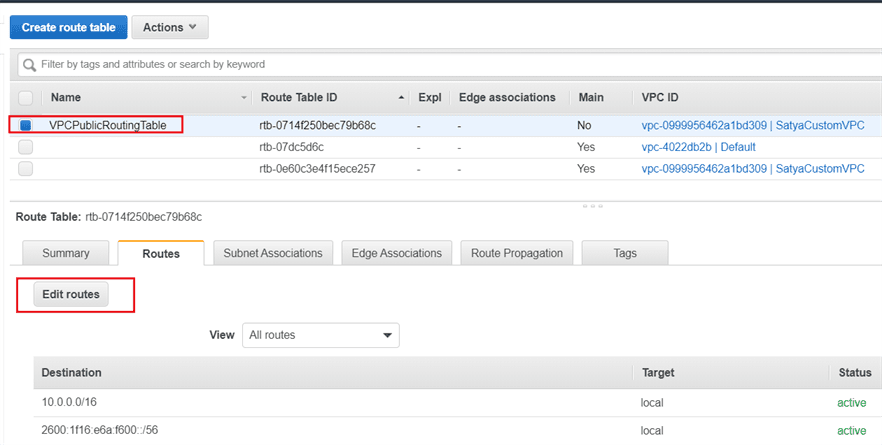
Add Target – internet Gateway for 0.0.0.0/0 for all requests

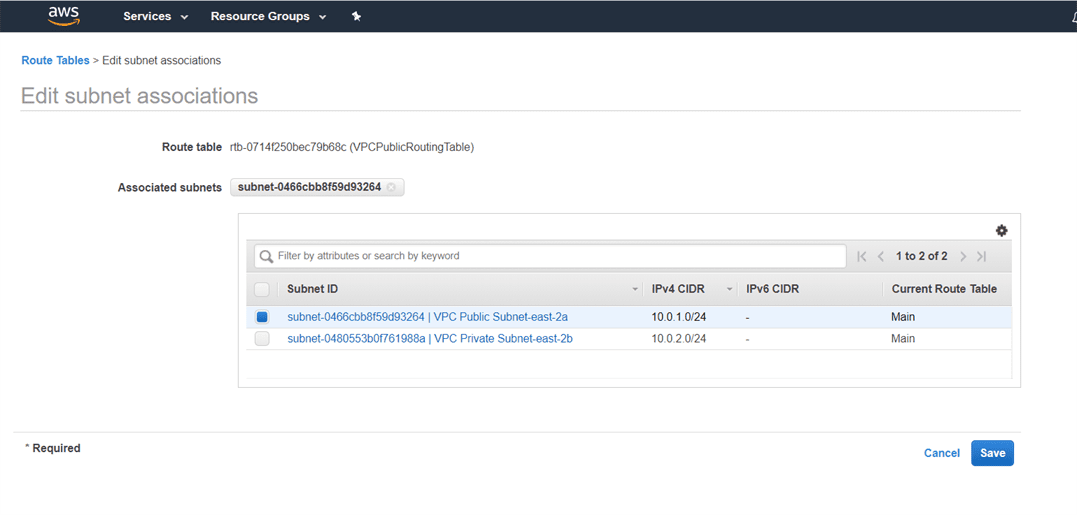
Click on the subnet associations of a public route table and then click on the Edit subnet associations. In Edit subnet associations, check 10.0.1.0-us-east-1a subnet box and this includes the subnet in a public route table. An Unchecked subnet is associated with the main route table
Now we have the last step left, and the last step is to create two EC2 instances. One EC2 instance is created in private subnet and another EC2 instance is created in public subnet.