Chef – Server
So far we did changes on local system only. Now we are going to execute our cookbooks in Hosted Nodes through Chef server
Chef Server – Setup Online Chef server
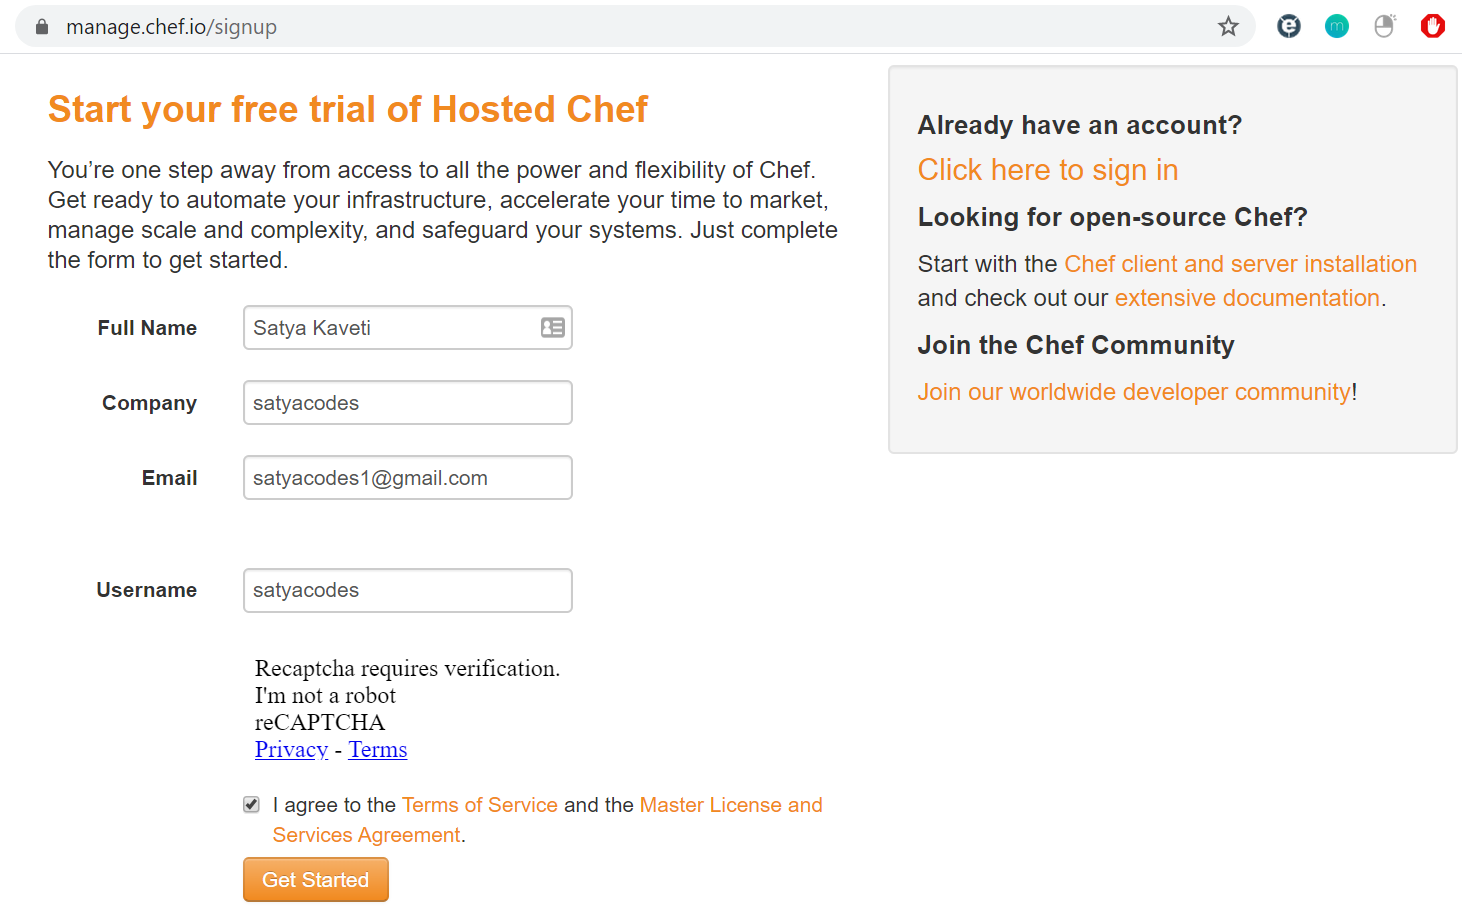
Signup By going https://manage.chef.io/signup
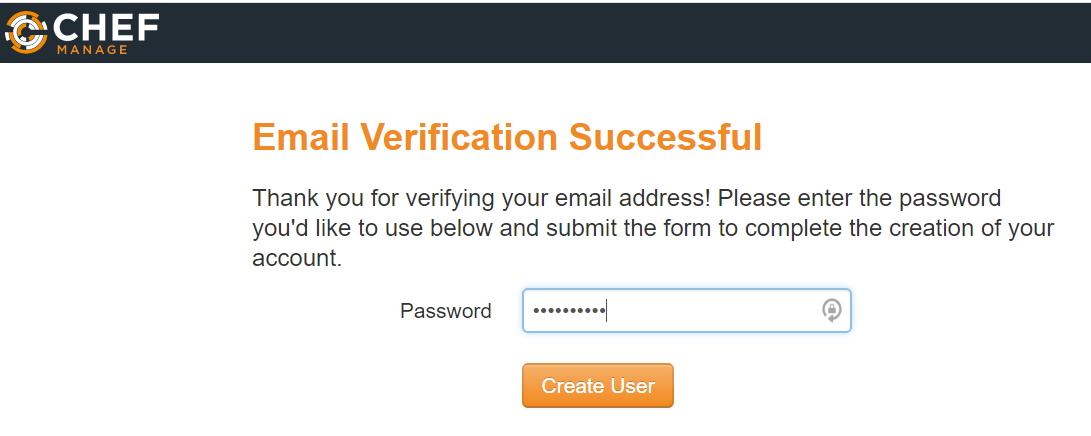
Verify Email & Setup Password
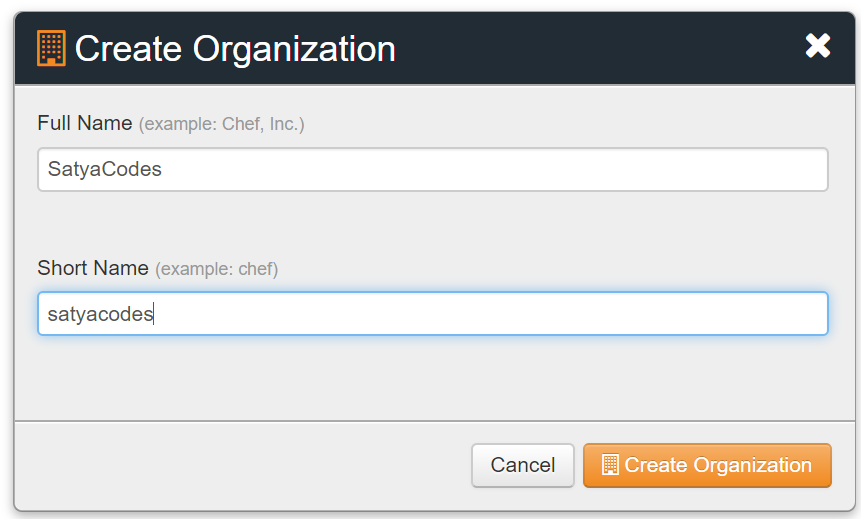
It will ask for Organization, Create one.
Download Starter Kit Go to Administration > Organization >satyacodes > Actions > Starter Kit > Download Starter Kit
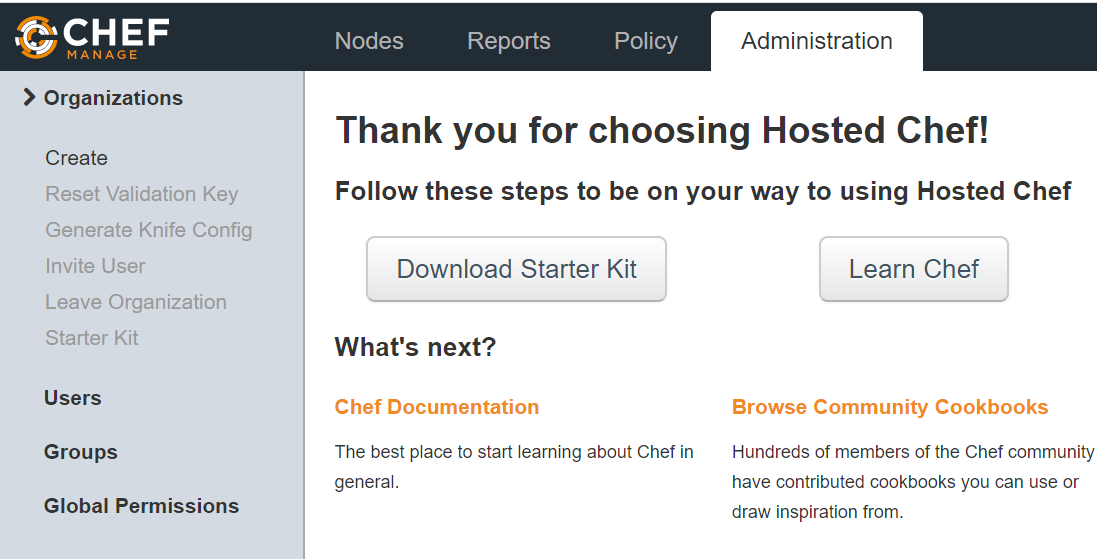
Download Kit.zip in Local System
-
Copy to Vagrant shared folder
-
`vagrant reload` to refresh Shared Folder content
-
copy that to chef folder : mv /shareFolder/chef-starter/ /home/vagrant/Chef/cookbooks/
-
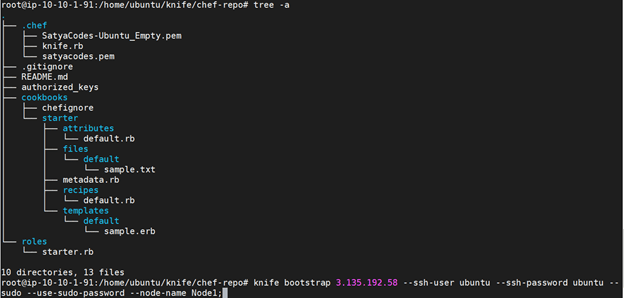
Check the Folder Structure: tree -a
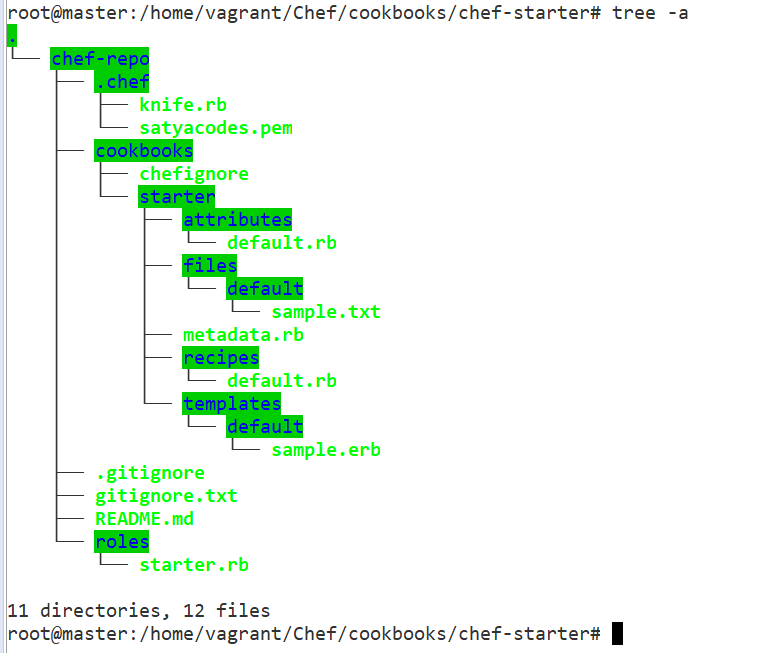
Chef Server – Bootstrap Chef Nodes
The knife bootstrap command is a common way to install the chef-client on a node.
Once the workstation machine is configured, it can be used to install the chef-client on one (or more) nodes across the organization using a knife bootstrap operation.
-
The knife bootstrap command is used to SSH into the target machine
-
It will install the chef-client executable (if necessary), generate keys,
-
register the node with the Chef server.
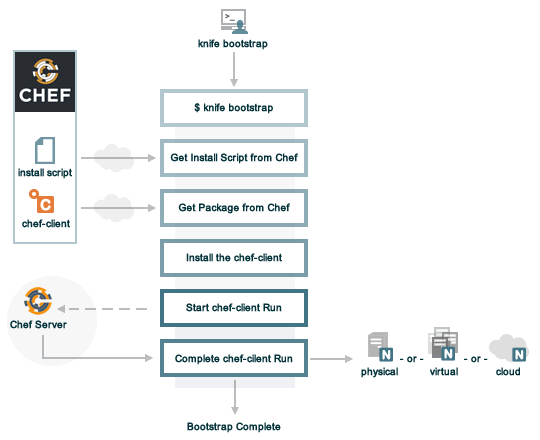
The following diagram shows the stages of the bootstrap operation, and the list below the diagram describes each of those stages in greater detail.
| Stages | Description |
|---|---|
| $ knife bootstrap | Enter the knife bootstrap subcommand from a workstation. Include the hostname, IP address, or FQDN of the target node as part of this command. Knife will establish an SSH or WinRM connection with the target node using port 22 and assemble a shell script using the chef-full.erb file, which is the default bootstrap template. |
| Get the install script from Chef | The shell script that is derived from the chef-full.erb bootstrap template will make a request to the Chef website to get the most recent version of a second shell script (install.sh). On Microsoft Windows machines: The batch file that is derived from the windows-chef-client-msi.erb bootstrap template will make a request to the Chef website to get the .msi installer. |
| Get the Chef Infra Client package from Chef | The second shell script (or batch file) then gathers system-specific information and determines the correct package for Chef Infra Client, and then downloads the appropriate package from omnitruck-direct.chef.io. |
| Install Chef Infra Client | Chef Infra Client is installed on the target node. |
| Start a Chef Infra Client run | On UNIX- and Linux-based machines: The second shell script executes the chef-client binary with a set of initial settings stored within first-boot.json on the node. first-boot.json is generated from the workstation as part of the initial knife bootstrap subcommand. On Microsoft Windows machines: The batch file that is derived from the windows-chef-client-msi.erb bootstrap template executes the chef-client binary with a set of initial settings stored within first-boot.json on the node. first-boot.json is generated from the workstation as part of the initial knife bootstrap subcommand. |
| Complete a Chef Infra Client run | a Chef Infra Client run proceeds, using HTTPS (port 443), and registers the node with the Chef Infra Server. The first Chef Infra Client run, by default, contains an empty run-list. A run-list can be specified as part of the initial bootstrap operation using the –run-list option as part of the knife bootstrap subcommand. |
The bootstrap operation requires the IP address or FQDN of the target system , the SSH credentials and Root access to the node.
The general syntax of the command will be:
knife bootstrap <IP / HOSTNAME> [options]
Bootstrap With password authentication
knife bootstrap <IP / HOSTNAME>
--ssh-user <USERNAME>
--ssh-password <PASSWORD>
--sudo --use-sudo-password
--node-name <NODE-NAME>
--run-list 'recipe[<cookbook-name>]';
Bootstrap With With key authentication
knife bootstrap <IP / HOSTNAME>
-x <USERNAME>
-i <PATH_TO_KEY_FILE>
--sudo --node-name <NODE-NAME>
--environment <ENVIRONMENT>
--run-list 'recipe[MY_COOKBOOK1]’
Enable a password authentication in EC2 Instace
Set a password for user. The example below uses ec2-user as the user
sudo passwd ec2-user
Changing password for user ec2-user.
New password:
Retype new password:
Update the PasswordAuthentication parameter in the /etc/ssh/sshd_config file:
PasswordAuthentication yes
Restart the SSH service. For Amazon Linux, RHEL 5, and SUSE Linux, use this command:
sudo service sshd restart
For Ubuntu, use this command:
sudo service ssh restart
when you are using hosted chef, you need to pass in a private key with the bootstrap and have the public key in your autherized_keys file….
-
install the ChefSDK in Master
-
Open master Terminal, Download your starter kit from hosted Chef
-
extract the starter kit to
~/chef-repo -
Go to chef-repo, generate a new keypair:
ssh-keygen -
add the public key to your authorized_keys file: $ cat id_rsa.pub >> authorized_keys
-
run the knife bootstrap with the following:
sudo knife bootstrap --ssh-user -i ~/.ssh/id_rsa --sudo --node-name web1
Using Chef Server - Install Apache2 on Two Nodes machines
1.Download Apahe2 Cookbook from Supermarket
we are going to use learn_chef_apache2 cookbook from Supermarket in this example.To Download learn_chef_apache2 , use below command
knife cookbook site download learn_chef_apache2

[New]
knife supermarket download learn_chef_apache2

Extract tar file to cookbooks folder
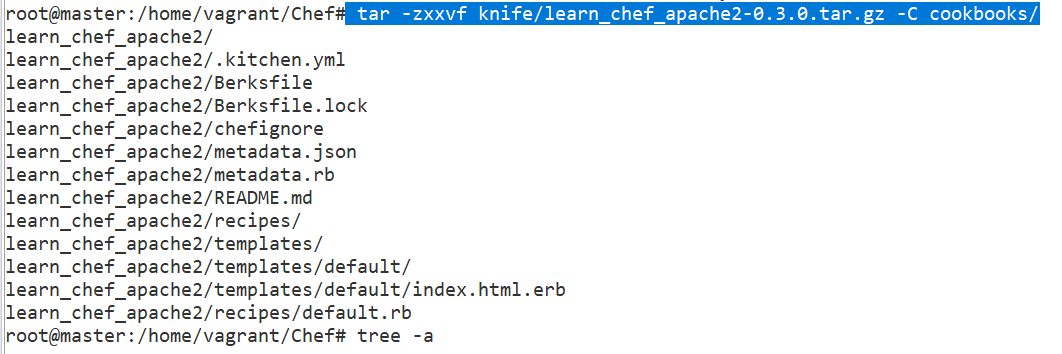
tar -zxxvf knife/learn_chef_apache2-0.3.0.tar.gz -C cookbooks/
we can see following files were extracted
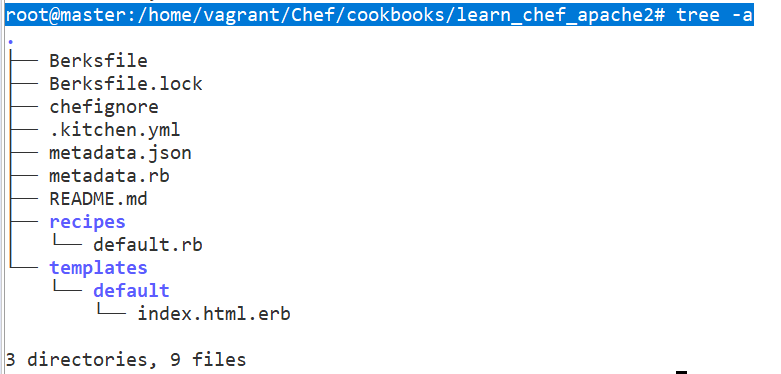
Check learn_chef_apache2/recipes/default.rb it contains same code we configured before
apt_update 'Update the apt cache daily' do
  frequency 86_400
  action :periodic
end

package 'apache2'

service 'apache2' do
  supports :status => true
  action [:enable, :start]
end

template '/var/www/html/index.html' do
  source 'index.html.erb'
end
2. Upload CookBook to Chef Server
We are downloaded this from Supermarket. If we want Upload this CookBook to Chef Server
First, copy this repository to Chef-Repo/cookbooks
go to /chef/chef-starter/chef-repo(Extracted Starter Kit) folder & copy learn_chef_apache2 here
mv cookbooks/learn_chef_apache2/ cookbooks/chef-starter/chef-repo/cookbooks/

To Upload/commit changes to Chef Server, Run below command inside /chef-starter/chef-repo
knife cookbook upload learn_chef_apache2

If we not copy this to /cookbooks folder it will throw below error
ERROR: Cannot find a cookbook named learn_chef_apache2; did you forget to add metadata to a cookbook?
Make sure you copy cookbook to chef-repo/cookbooks folder
Check Changes in Chef Server
-
Login to Chef Server : https://manage.chef.io/login
-
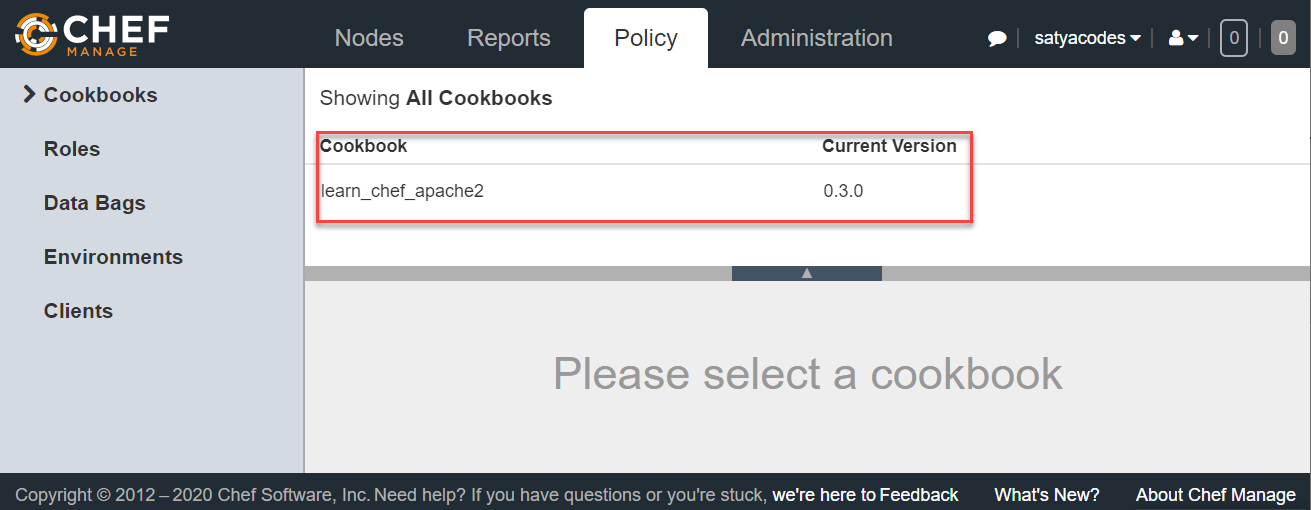
Go to Dashboard > Top Menu > Policy Tab : observe cookbook uploaded.
3.Chef Nodes Details
We have Two Vagrant Nodes
---------------------------------------------------------
# Node: 1
--------------------------------------------------------
Vagrant.configure("2") do |config|
  config.vm.box = "ubuntu/trusty64"
  config.vm.network "private_network", ip: "192.168.33.11"
  config.vm.hostname = "web1.satyacodes.vm"
  config.vm.network "forwarded_port", guest: 80, host: 5555,
   auto_correct: true
end

---------------------------------------------------------
# Node: 2
--------------------------------------------------------
Vagrant.configure("2") do |config|
  config.vm.box = "ubuntu/trusty64"
  config.vm.network "private_network", ip: "192.168.33.12"
  config.vm.hostname = "web2.satyacodes.vm"
  config.vm.network "forwarded_port", guest: 80, host: 6666,
   auto_correct: true
end
4.Boostrap & Run Apache Cookbook on Nodes
Go to Chef workstation & Navigate to Chef Repo(chef/chef-starter/chef-repo),
execute below commands to bootstrap & Install Apache2 on both the nodes.
Remove Apache2 if already installed using :
sudo apt remove apache2.
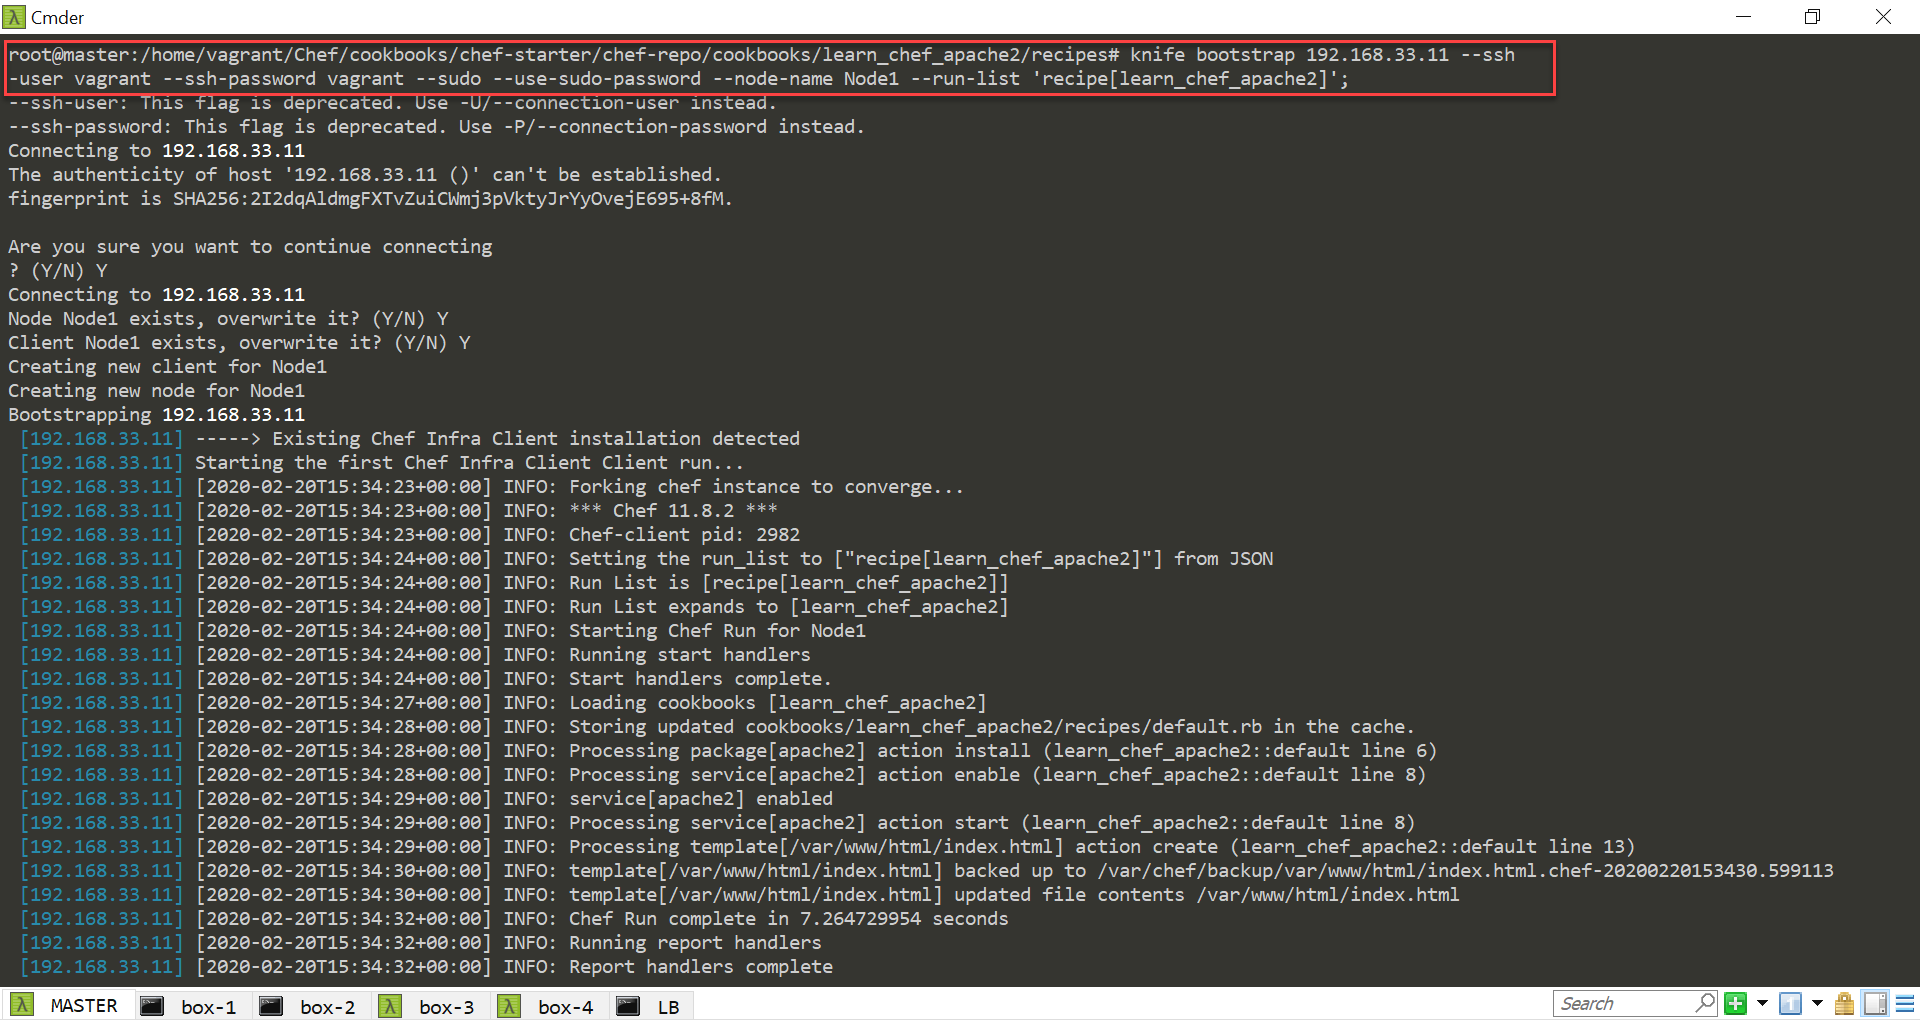
#Boostrap Node1
knife bootstrap 192.168.33.11 --ssh-user vagrant --ssh-password vagrant --sudo --use-sudo-password --node-name Node1 --run-list 'recipe[learn_chef_apache2]';
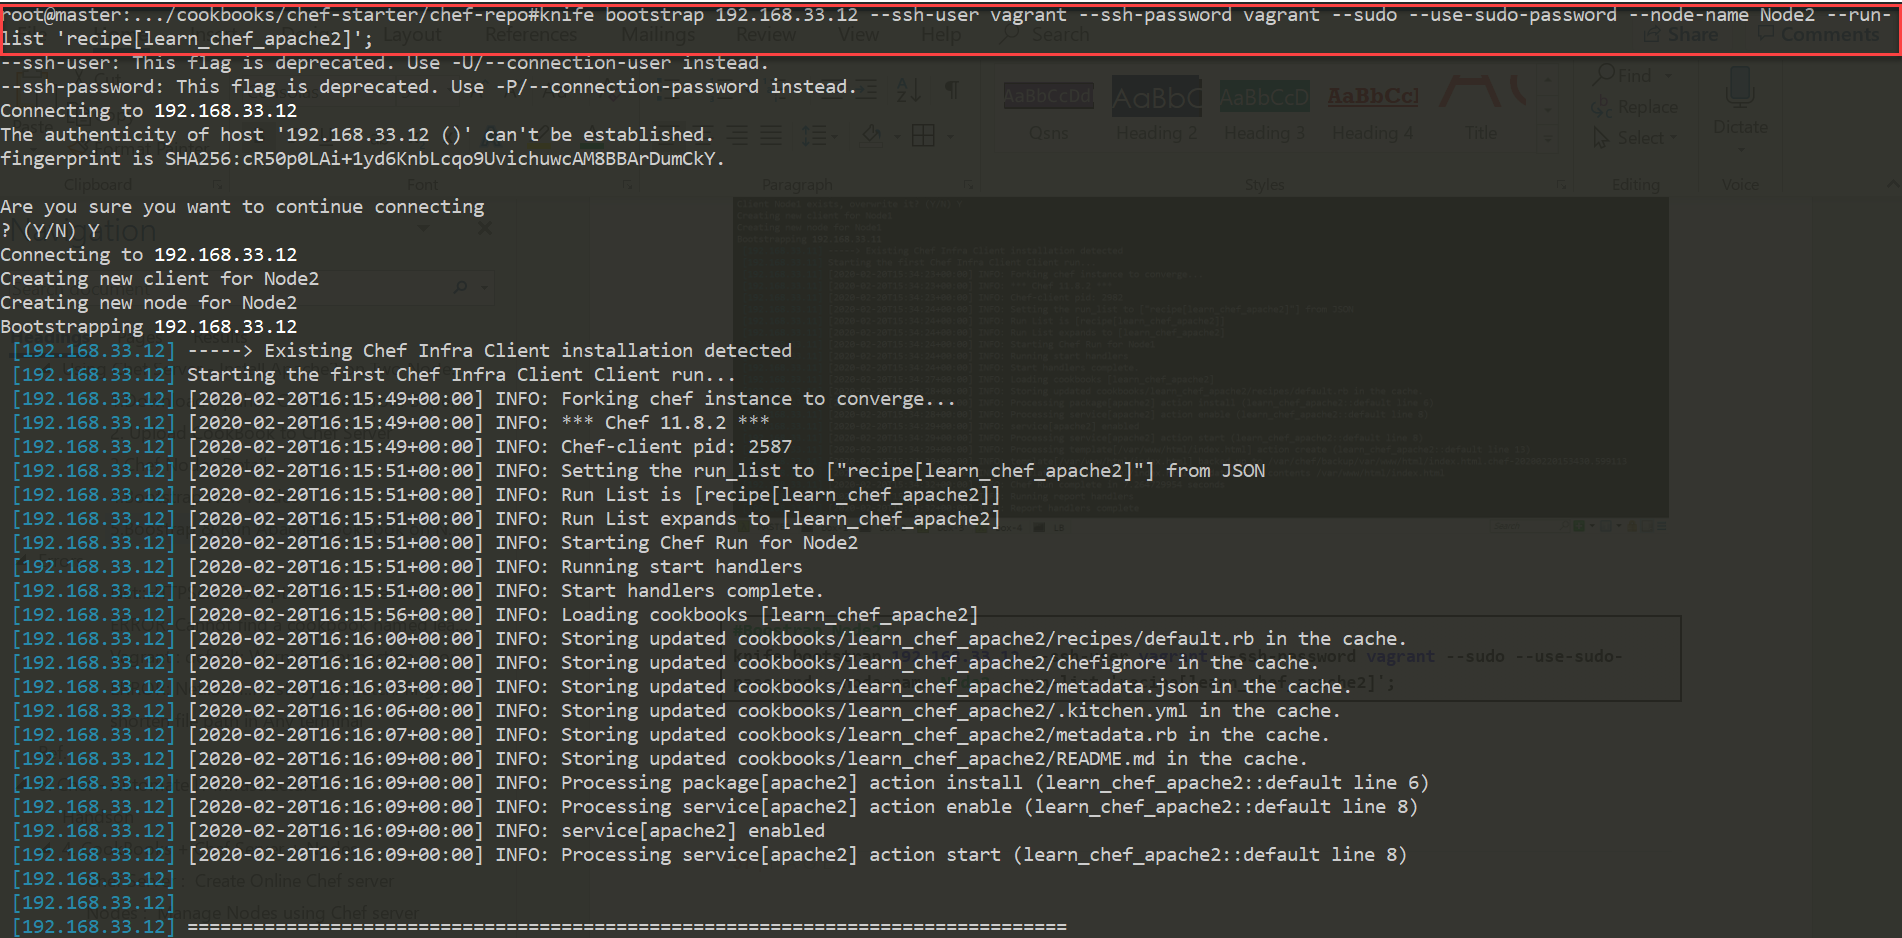
#Boostrap Node2
knife bootstrap 192.168.33.12 --ssh-user vagrant --ssh-password vagrant --sudo --use-sudo-password --node-name Node2 --run-list 'recipe[learn_chef_apache2]';
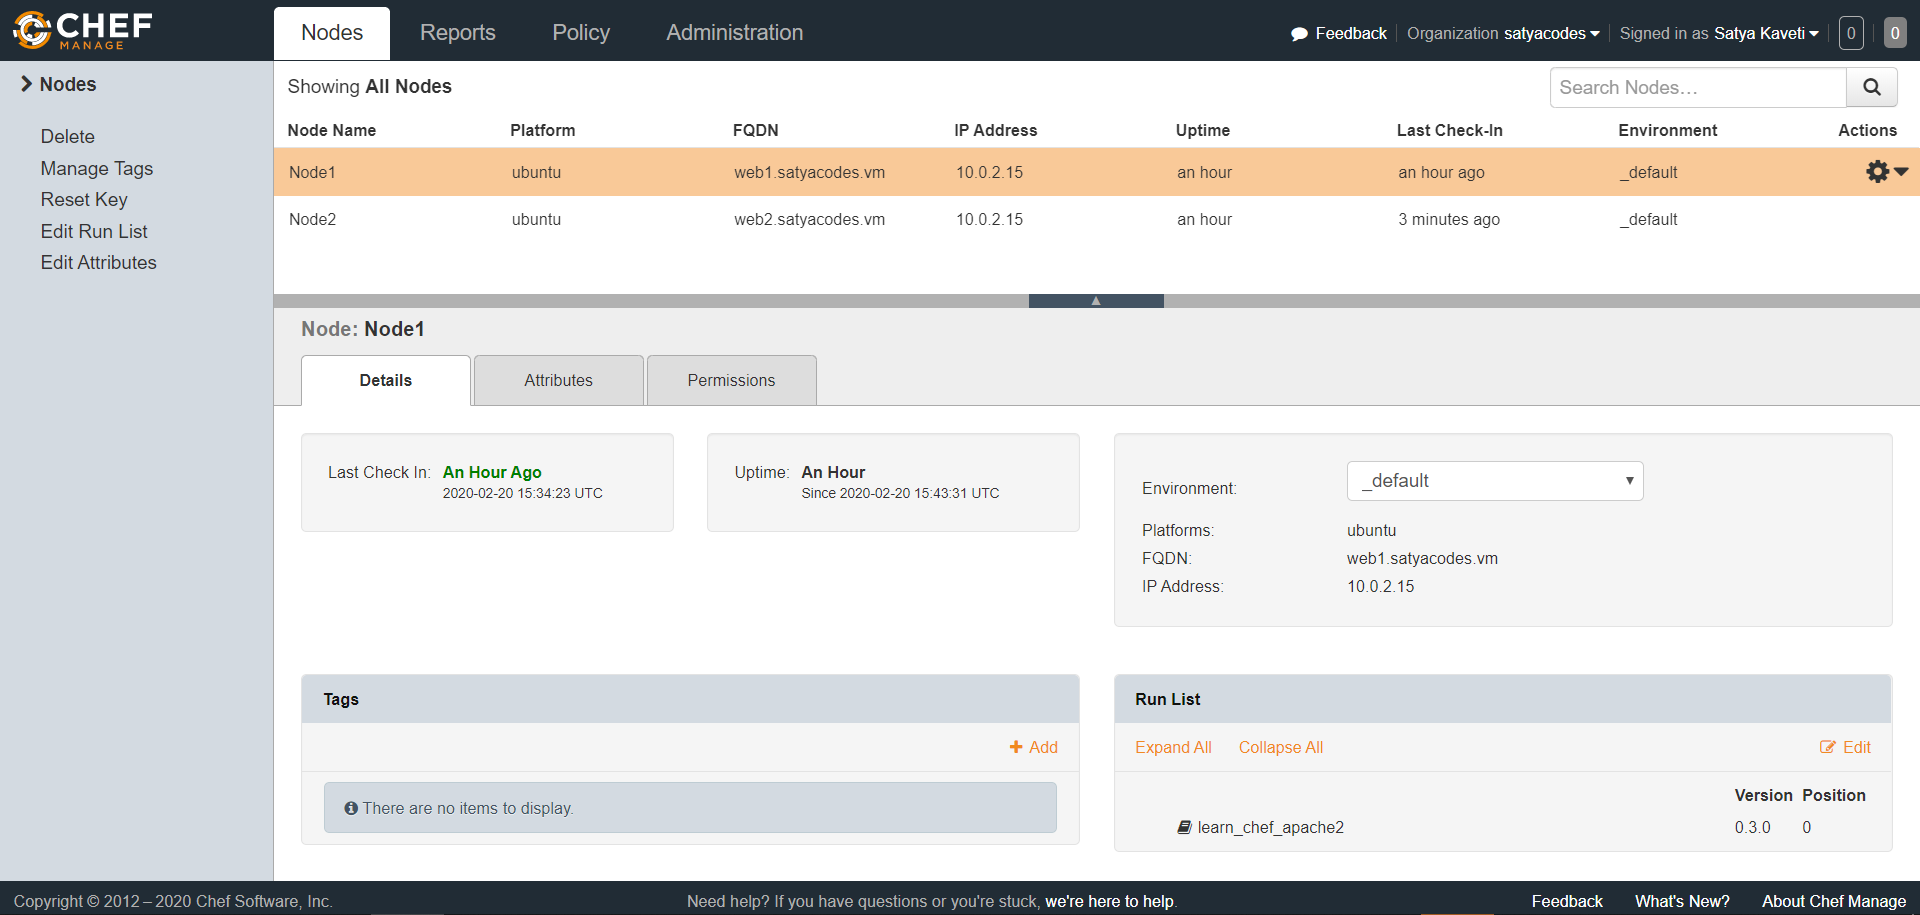
5.Check Chef Server – Nodes Registered
Now we can check, knife automatically register Ubuntu Node1 & Node 2 , with Chef Server
6.Check index.html in both Nodes
#Check apache status
service apach2 status

#Check Running apache2 Port
sudo lsof -i
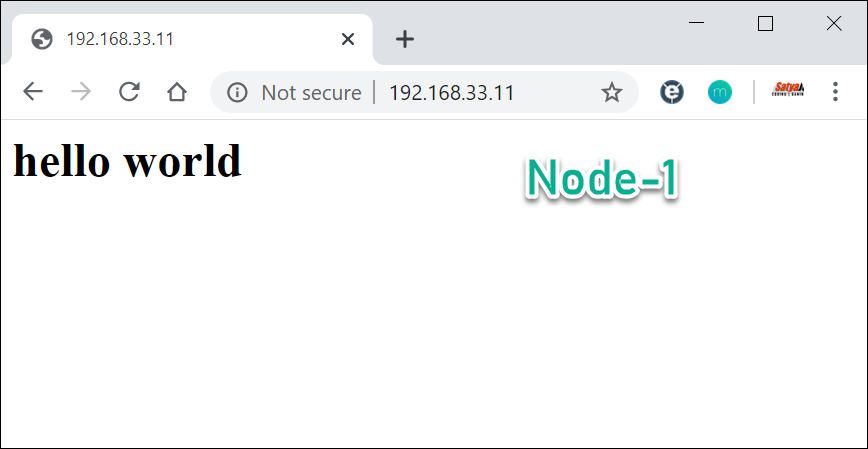
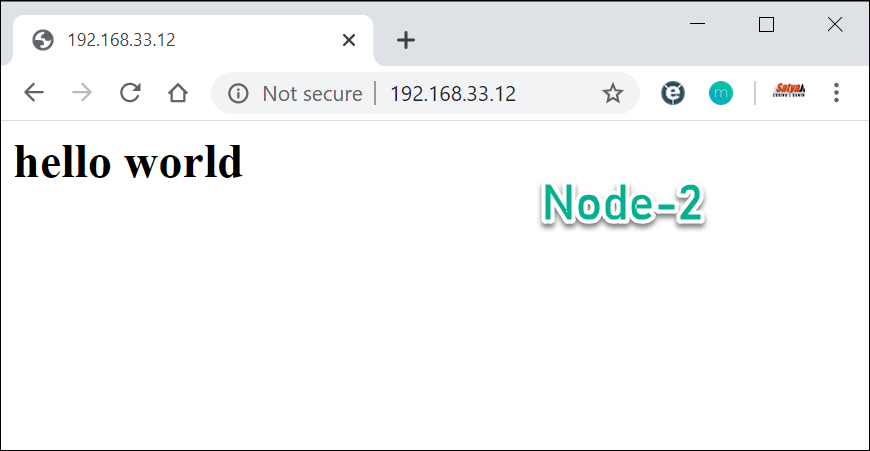
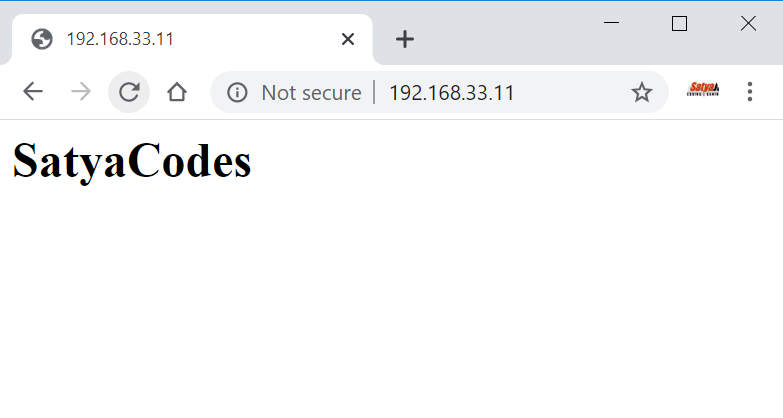
Open Browser, Hit Nodes IP , check the index page
7.More on Chef Nodes
To get no.of Nodes in Chef server
To get no.of Nodes in Chef server
chef-repo> knife node list
Node1
Node2
Get Node Info
chef-repo> knife node show Node1
Node Name:   cnode1
Environment: _default
FQDN:        vagrant-ubuntu-trusty-64
IP:          10.0.2.15
Run List:    recipe[learn_chef_apache2]
Roles:
Recipes:     learn_chef_apache2
Platform:    ubuntu 14.04
Tags:
Separate Bootstrapping
Just Bootstrap
Knife bootstrap 192.168.1.10 -x root -P vagrant
To set Cookbook to a Node
knife node run_list add node1 -recipe[apache]”
node1:
 	run_list: recipe[apache]
Run ,manually on node machine - node will pick updated one
sudo chef-clinet
**1.Boostrap Nodes – Without executing recipes**
knife bootstrap 192.168.33.11 --ssh-user vagrant --ssh-password vagrant --sudo --use-sudo-password --node-name Node1

knife bootstrap 192.168.33.12 --ssh-user vagrant --ssh-password vagrant --sudo --use-sudo-password --node-name Node2
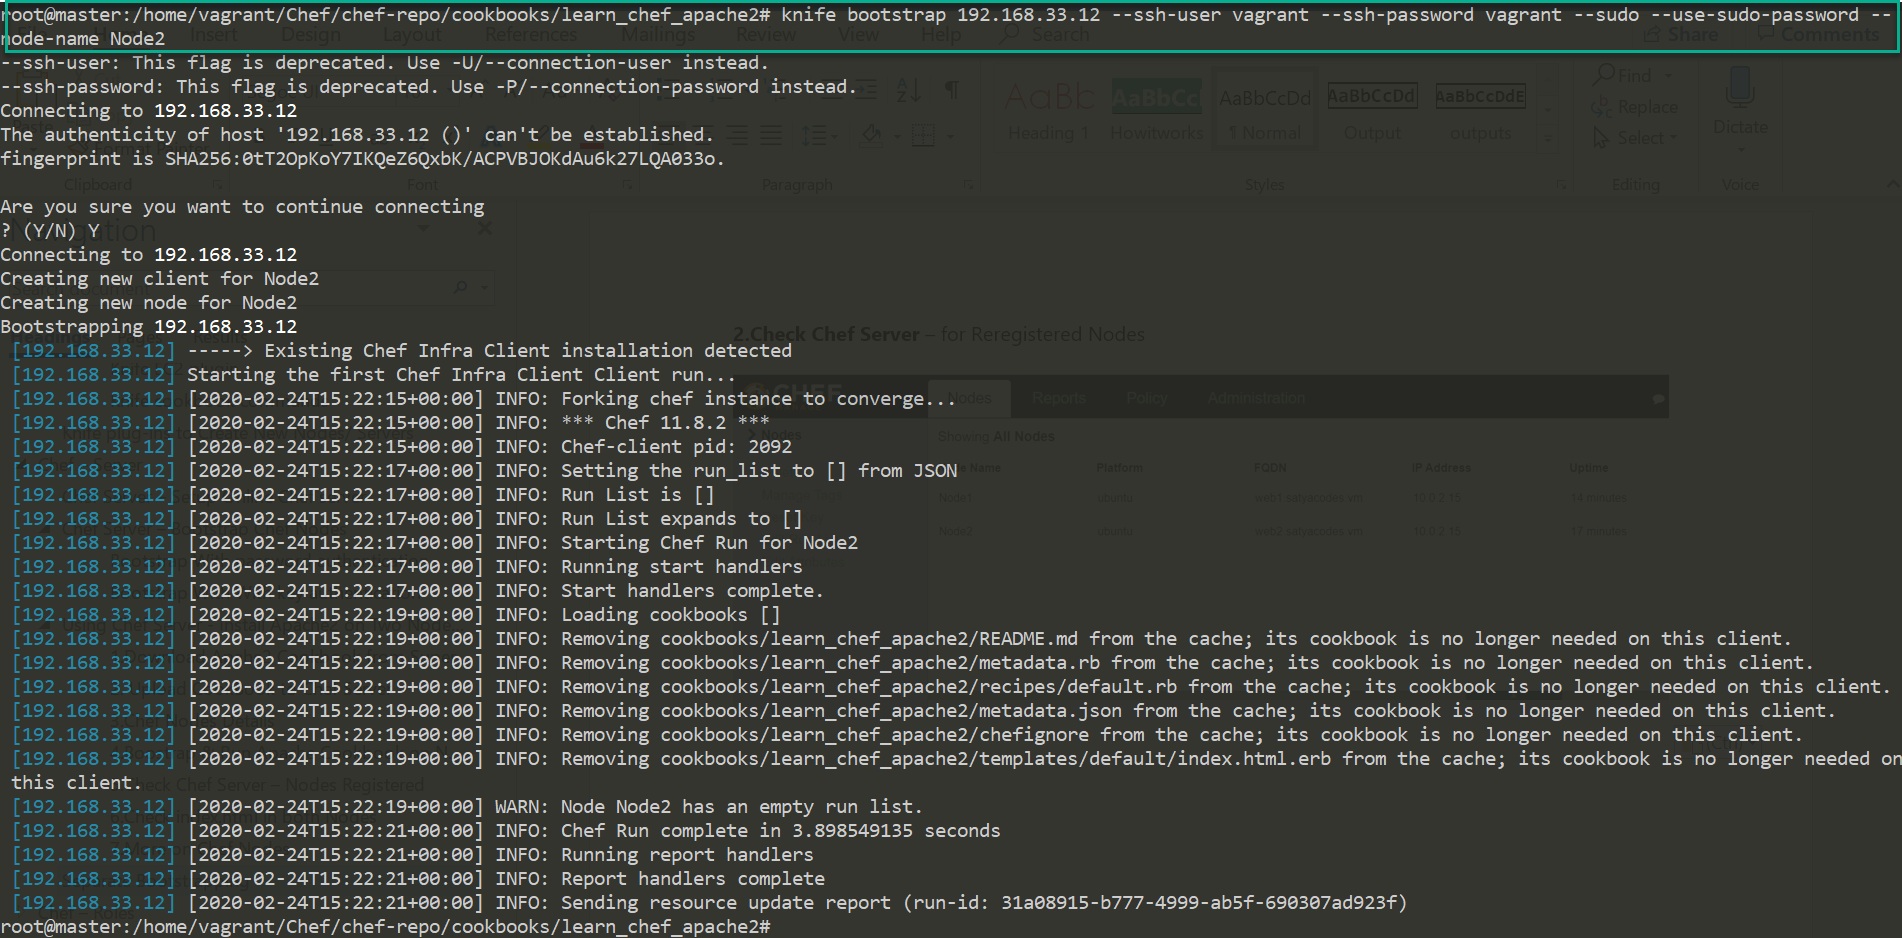
2.Check Chef Server – for Reregistered Nodes
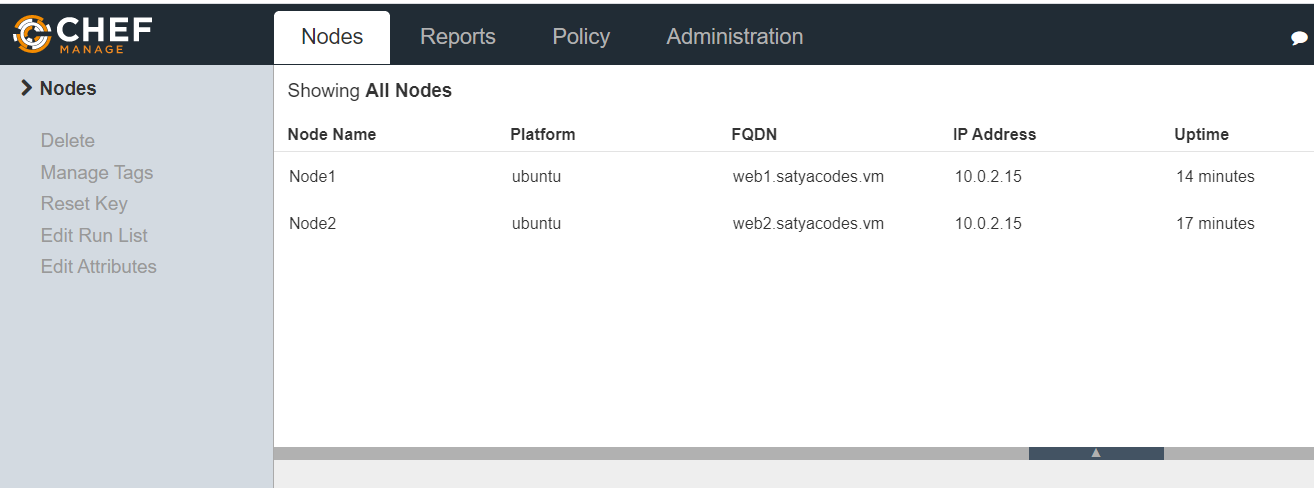
3.Set Cookbook to – Node1 if we update the Chef server with his assigned Cookbooks
knife node run_list add Node1 'recipe[learn_chef_apache2]';

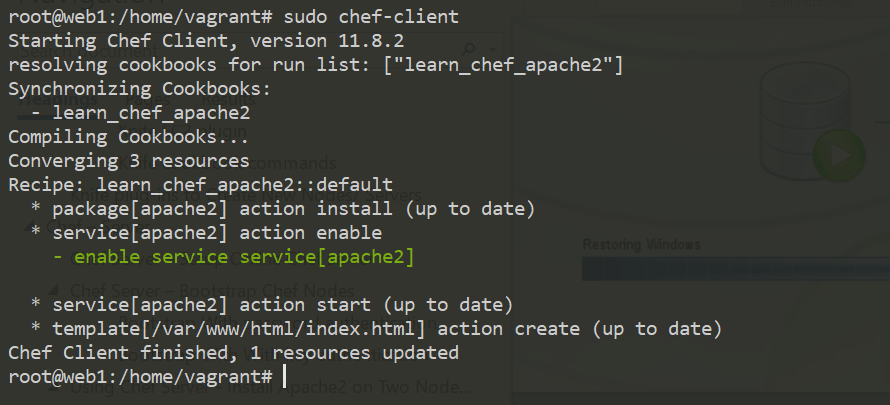
4.Run chef-client
If we run chef-client on Node1, it will Contact Chef-Server , it will ask for
what are the run_list assigned him, & it will run those tasks.
sudo chef-client
5.Test apache Server.
ERROR: Your private key could not be loaded from /etc/chef/client.pem
You must run this command inside root folder of extracted chef started Kit
knife bootstrap 3.135.192.58 --ssh-user ubuntu --ssh-password ubuntu --sudo --use-sudo-password --node-name Node1;
